Treasure Chest
What?
Sometimes when fishing, you'll hook a treasure chest instead of a Pokémon!
This triggers a
timing-based minigame where you must stop a moving indicator on the target area to unlock the chest.
How?
Timing is key!
- Watch the bar - A white indicator moves across the screen
- Target zone - A green zone marks the success area
- Click/Tap to stop - Stop the indicator inside the green zone to win!
Difficulty Scaling
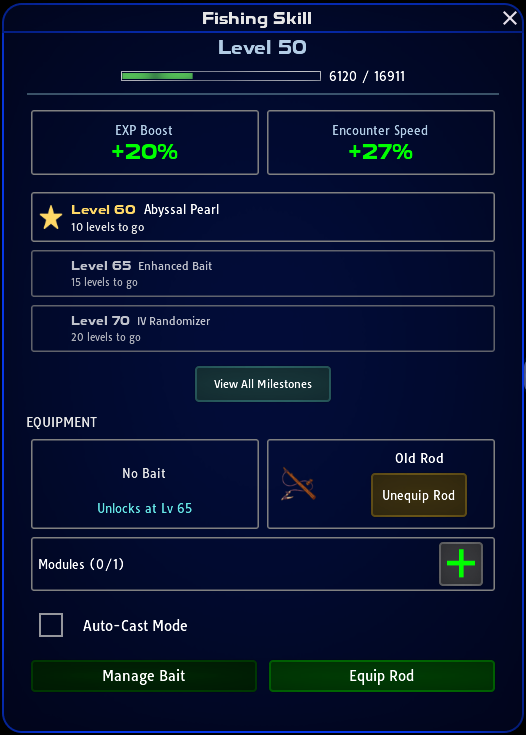
Your
rod and fishing level both affect the difficulty of the minigame.
- Bar Speed = The time it requires for the white indicator to travel the entire length of the minigame.
- Target Zone = The green area marking the success zone. Indicated in % of the entire length.
Fishing Rod
| Fishing Rod | Bar Speed | Target Zone |
| Old Rod | 3.5 sec (very fast) | 4% (tiny) |
| Good Rod | 5.0 sec (fast) | 7% (small) |
| Super Rod | 6.5 sec (medium) | 9% (medium) |
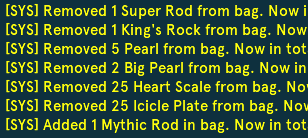
| Mythic Rod | 8.0 sec (slow) | 12% (large) |
| Aether Rod | 9.5 sec (very slow) | 15% (generous) |
Fishing Level
Per 10 levels, both parts of the minigame are affected.
- Reaction Time: +30ms per 10 levels (capped at +300ms)
- Success Zone: +0.15% per 10 levels (capped at +1.5%)
Examples
Fishing
level 75 with a
Super Rod:
Bar Speed: 6.5 sec + 7*0.03 = 6.71 seconds
Target Zone: 9% + 7*0.15% = 10.05%
Fishing
level 135 with a
Mythic Rod:
Bar Speed: 8.0 sec + 0.300 sec = 8.3 sec
Target Zone: 12% + 1.5% = 13.5%
=>The fishing level boost cannot exceed the capped boost at level 100.
Trigger Chance
There is approx.
0.04% chance to hook a treasure chest (approximately 1 in 2,500 encounters)
Future updates may add modifiers based on bait, rods, modules, or events
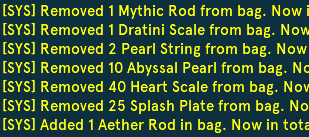
Rewards
Win the minigame to receive random treasure rewards from four tiers.
The amount of the rewards can be influenced by your used Fishing Rod.
Fishing Rods
Better rods can earn multiple rewards from a single chest:
- Old/Good Rod: Always 1 reward
- Super/Mythic Rod: 50% chance for a 2nd reward
- Aether Rod: 50% chance for 2nd, 33% chance for 3rd reward!
Reward Tiers
Low Tier (Most Common):
| Icon | Name |
| IV Randomizer (1x) |
| Pearl (1x) |
| Unallocated EV Reset (1x) |
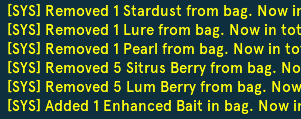
| Basic Bait (1x) |
| Heart Scale (3x) |
| Lure (1x) |
Mid Tier (Uncommon):
| Icon | Name |
| IV Randomizer (2x) |
| Big Pearl (1x) |
| Big Nugget (1x) |
| Star Piece (1x) |
| Abyssal Pearl (3x) |
| Unallocated EV Reset (3x) |
| Full EV Reset (1x) |
| PP Up (1x) |
| One Time Air Balloon (3x) |
| One Time Focus Sash (3x) |
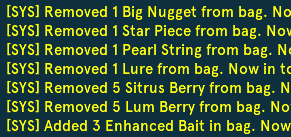
| Enhanced Bait (1x) |
| Heart Scale (3x) |
| Lure (1x) |
| Icicle Plate (2x) |
| Splash Plate (2x) |
| / | 5.000 F |
High Tier (Rare):
| Icon | Name |
| IV Randomizer (3x) |
| Pearl String (1x) |
| Comet Shard (1x) |
| Abyssal Pearl (5x) |
| Ability Capsule (1x) |
| Full EV Reset (3x) |
| PP Max (1x) |
| / | 10.000 F |
Legendary Tier (Very Rare):
| Icon | Name |
| Dratini Scale (1x) |
| Mythic Bait (1x) |
| Ability Patch (1x) |
| / | 25.000 F |


") .
.
") .
.